


Firebase ecosystem provides a variety of use cases that improves product build.
As a react developer, one of the first scenarios that may prompt your use of firebase is user authentication.
This article will provide a simple step by step guide on setting up firebase in your react project.
1. Sign Up on firebase
Visit @firebase.google.com and click on sign in/ Get started

If you have a google account already, you can sign in with your Google account otherwise, click on "create account". There are two options:
   - For myself
   - To manage my business
In this demo, we will choose "for myself". Next is the prompt to fill in relevant details to create a google account. Fill this up and follow the subsequent prompt(s) till you are signed in.
Once signed in click you'd be in your console. If this isn't the case click on "console" on the top right corner of the navbar.
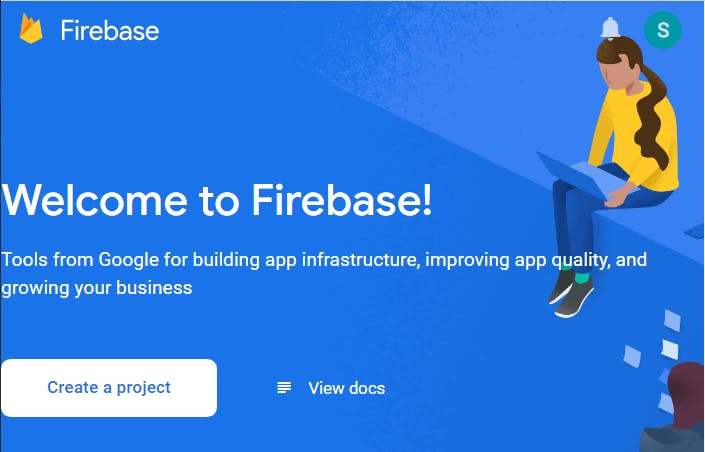
2. Create a project:
Click on the create a project button as shown in the image below:
then do these:
a. Enter project name
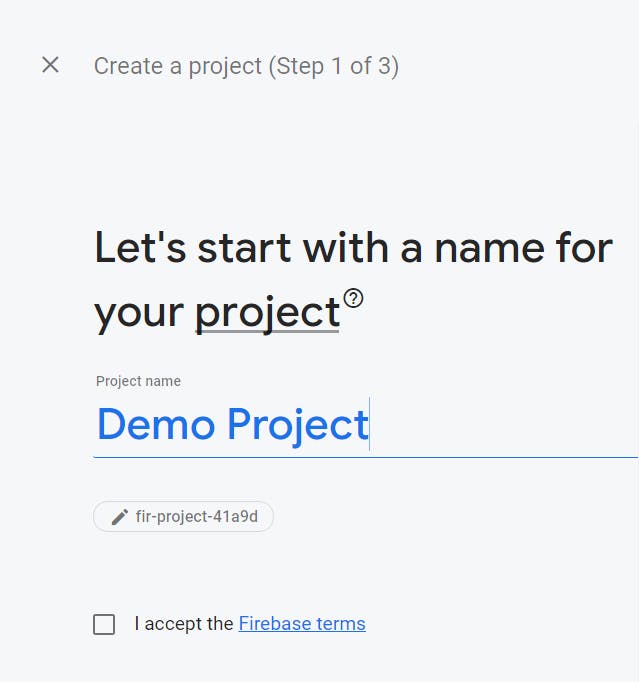
b. Accept terms and click on continue; Next page is a brief on google analytics and if you want it in the project click the toggle button.
c. If you choose to run google analytics then read the next prompt and tick where applicable and select "create project".

3. Get Web Configuration:
To access the configuration that will be used in your react project, click the </> button (for visual reference it is highlighted in the image below):

The page to enter an App nickname will come up next, you can decide to stick with the same name or choose a nickname. I'd stick with demo project.
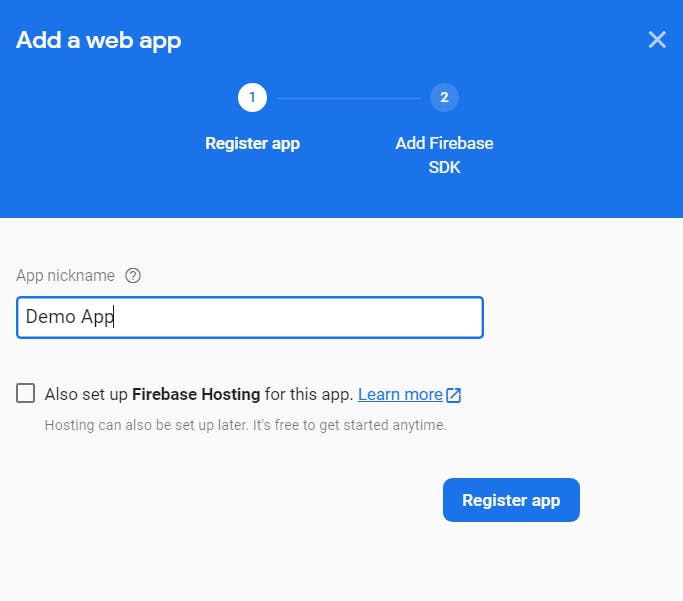
Setting up firebase hosting will be ignored as it is not relevant to this use case.
Click on register app and the code snippet to be pasted in your project will be made available.
You wouldn't need to copy the entire code as it is not needed in your react file and will throw an error. Only the firebaseConfig object and functions to initialize firebase is needed.
In your react project create a file in your root folder conventionally named "firebase.js" and paste in the needed code snippet
Sample available below:
import * as firebase from 'firebase';

  // Your web app's Firebase configuration
  // For Firebase JS SDK v7.20.0 and later, measurementId is optional
  const firebaseConfig = {
    apiKey: "AIzaSyC5oSXuNMWFMyVsYEDPD8xOYscLBHaprjc",
    authDomain: "ecommerce-e506b.firebaseapp.com",
    projectId: "ecommerce-e506b",
    storageBucket: "ecommerce-e506b.appspot.com",
    messagingSenderId: "1069213947488",
    appId: "1:1069213947488:web:4a63565ecc197361e85505",
    measurementId: "G-N4CW78V8Z9"
  };
  // Initialize Firebase
  firebase.initializeApp(firebaseConfig);
  firebase.analytics();
*note: I changed the var keyword used in the original code from firebase to const keyword.
4. Install Firebase:
Install firebase using your package manager to enable your project to import the required firebase module.
Using:
$ npm i firebase
Or,
$ yarn add firebase
*5. Export Auth Functions: The use case of this firebase set up is user authentication therefore the functions for authentication in firebase module has to be stored in a variable and exported.
Code sample:
export const auth  = firebase.auth();

export const googleAuth = new firebase.auth.GoogleAuthProvider;
Credits: